

![]()
Few days back I was looking at Scott Hanselman and friend’s Open Source Nerddinner project, learning and grabbing some new things from there. Apart from looking some internals I looked at the OpenID implementation. This was all a week ago and now it’s time for me to write and give some thoughts on DotNetOpenAuth. For folks who are new to OpenID I am going to demonstrate how you can implement one in your project with ease.
To get started download the DotNetOpenAuth API and extract the contents from the zip file. The download also includes some samples for you to get you started. Kickstart by creating a new ASP.NET webforms project. I am just using a default template for my application, you can use the one you like or start by creating a new page. Why I am using the default template for ASP.NET webform project? well you get to know later. So now when we are done creating a new ASP.NET webform project, time to add OpenID stuff in the project. Right click References and select Add Reference. Browse to the bin folder where you have extracted the contents of the downloaded zip file. Select DotNetOpenAuth.dll and click OK.
Changing the web.config:
A minor change in the web.config is required. Find the below lines in your web.config file:
<authentication mode="Forms"><forms loginUrl="~/Account/Login.aspx"
timeout="2880" /></authentication>
and replace it with:
<authentication mode="Forms"><forms defaultUrl="/default.aspx"
loginUrl="~/Account/login.aspx"/></authentication>
In the above configuration, loginUrl will always point towards to the login page and the defaultUrl will always point towards the page/URL which will be displayed when the authentication is successfull.
Implemeting OpenID support:
To implement OpenID support, open login.aspx page in the design view and then drag the OpenIdLogin from the toolbox on the page just after the default login implementation ends or where you want to have OpenID login. If you are not able to view the control, then you can browse the same dll you have add a reference in the above step.
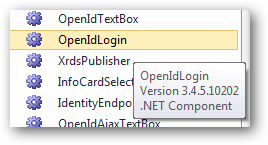
If you want to implement this manually then register the control at the top of the page and then use it on the page.
Register the control:
<%@ Register Assembly="DotNetOpenAuth" Namespace="DotNetOpenAuth.OpenId.RelyingParty"
TagPrefix="rp" %>
To use the control on the page you can then simply write:
<rp:OpenIdLogin ID="OpenIdLogin1" runat="server"></rp:OpenIdLogin>
All done now and it’s time to test our application. Hit F5 and login with your openID. The page rendered in front of you is
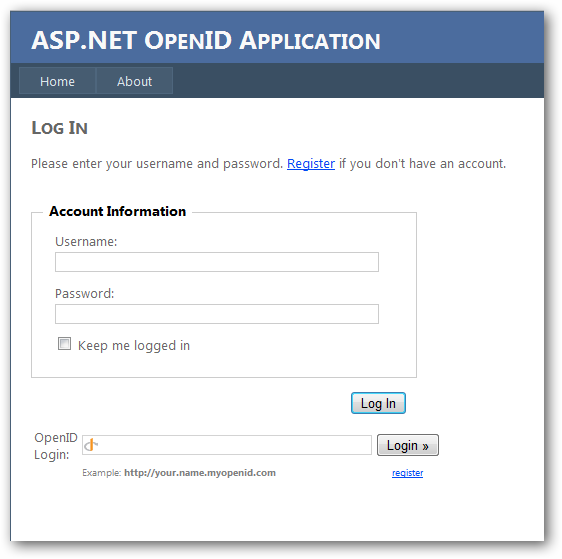
Enter your openID and click login. You will be redirected to the official OpenID login page.
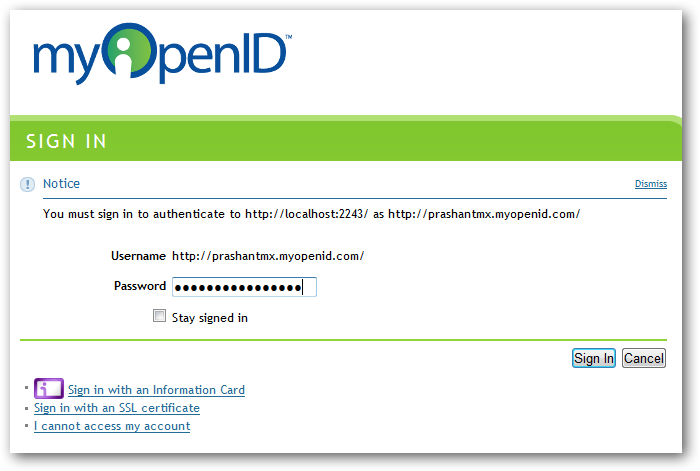
Enter your password for openID account and after the authentication is successfull you will be re-directed to the default page. Remember the web.config configuration we did!!? If everything goes well you can see your openID name login name on the top of the page.

This is the simplest way to implement openID. You can also implement openID on your ASP.NET MVC project to add some flexibility for you site users. Apart from this you can also download the Visual Studio 2010 template.
Download: DOTNETOAUTH.zip (542.85 kb)
Related Links: