

Ever since the .NET stack went open source last year, there is a huge excitement among the developers about the .NET stuff and developing apps using .NET which are no longer limited to Windows platform. I tried to install ASP.NET VNext on Ubuntu VM in which I terribly failed in the first go. Why? because the tutorial I used was quite old and I messed up the installation of pre-requisites. But I get everything working in the second try. So here are the steps and commands that will get you started with ASP.NET VNext on Ubuntu.
I am setting up a fresh VM for development on Ubuntu 14.04.2 LTS
Installing Mono
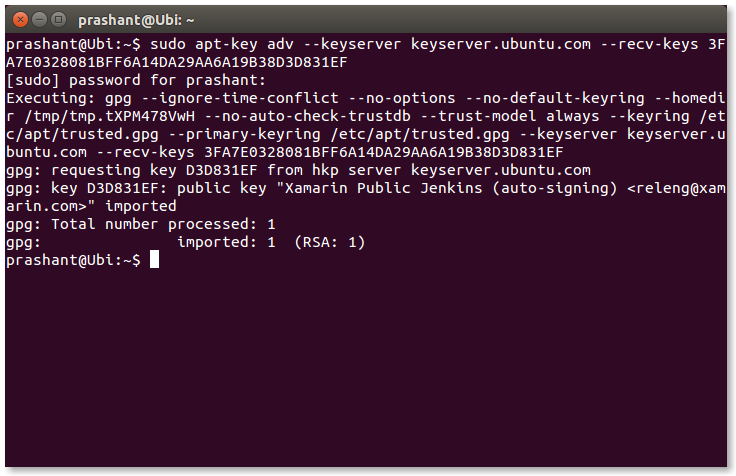
First thing is to install Mono. For folks who are new to Linux environment, Mono is a community driven project which allows developers to build and run .NET application on Linux platforms. Here is the set of commands that I have to execute to install Mono.
sudo apt-key adv --keyserver keyserver.ubuntu.com --recv-keys 3FA7E0328081BFF6A14DA29AA6A19B38D3D831EF
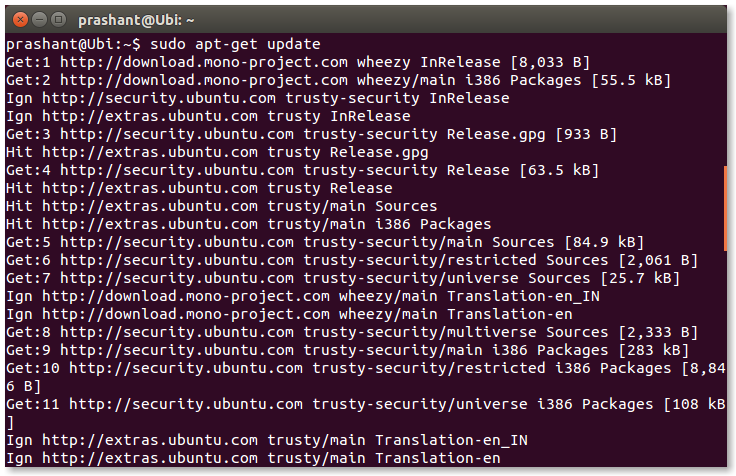
echo "deb http://download.mono-project.com/repo/debian wheezy main" | sudo tee /etc/apt/sources.list.d/mono-xamarin.list
sudo apt-get update
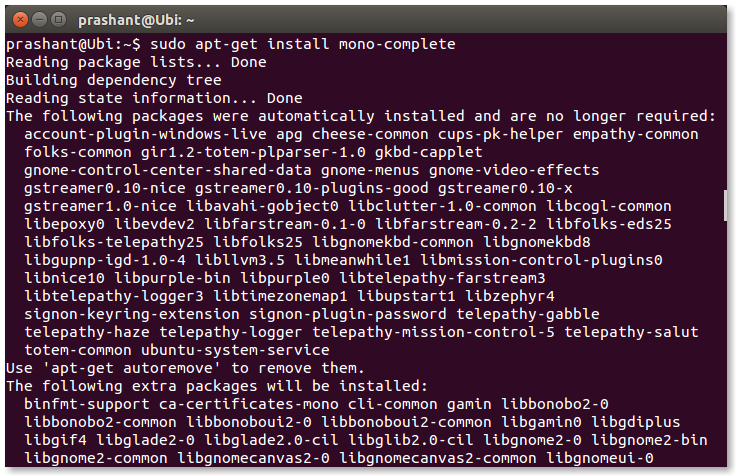
Install the latest version of Mono available.
sudo apt-get install mono-complete
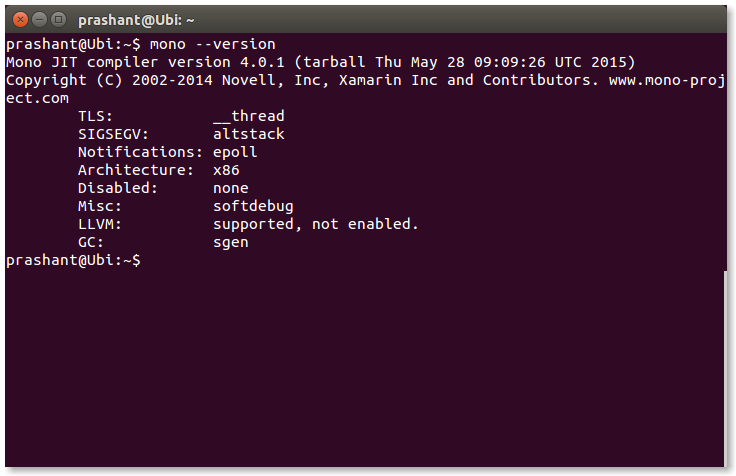
To check if Mono is successfully installed or to determine the version of Mono on you machine run the below command in the terminal.
mono --version
Installing LibUV
As stated on Github:
Libuv is a multi-platform asynchronous IO library that is used by the KestrelHttpServer that we will use to host our web applications.
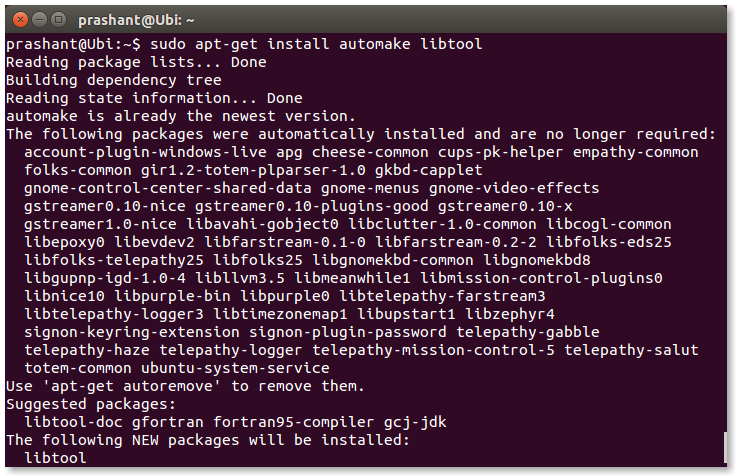
Running the below command will install LibUV along with the dependencies require to build it.
sudo apt-get install automake libtool
Getting the source and building and installing it.
curl -sSL https://github.com/libuv/libuv/archive/v1.9.0.tar.gz | sudo tar zxfv - -C /usr/local/src
cd /usr/local/src/libuv-1.9.0
sudo sh autogen.sh
sudo ./configure
sudo make
sudo make install
sudo rm -rf /usr/local/src/libuv-1.9.0 && cd ~/
sudo ldconfig
Here is a note at Githb repo that explains what the above set of commands are doing.
NOTE: make install puts libuv.so.1 in /usr/local/lib, in the above commands ldconfig is used to update ld.so.cache so that dlopen (see man dlopen) can load it. If you are getting libuv some other way or not running make install then you need to ensure that dlopen is capable of loading libuv.so.1
Getting .NET Version Manager (DNVM)
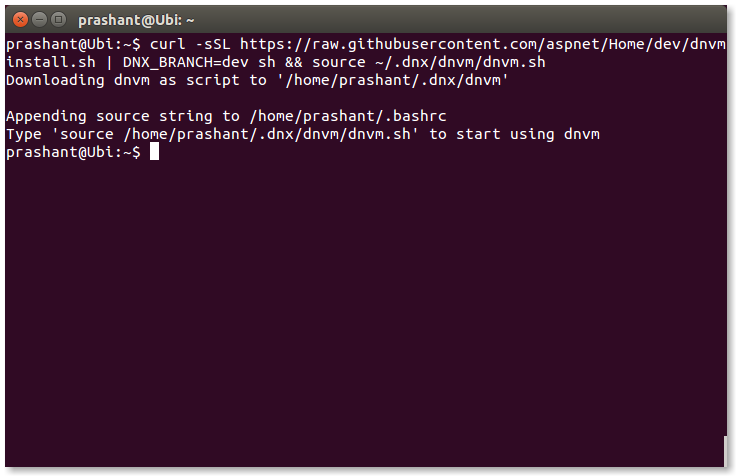
DNVM is a command line tool which allows you to get new build of the DNX (.NET Execution Environment) and allows you to switch between them. To get DNVM running fire the below command in the terminal.
curl -sSL https://raw.githubusercontent.com/aspnet/Home/dev/dnvminstall.sh | DNX_BRANCH=dev sh && source ~/.dnx/dnvm/dnvm.sh
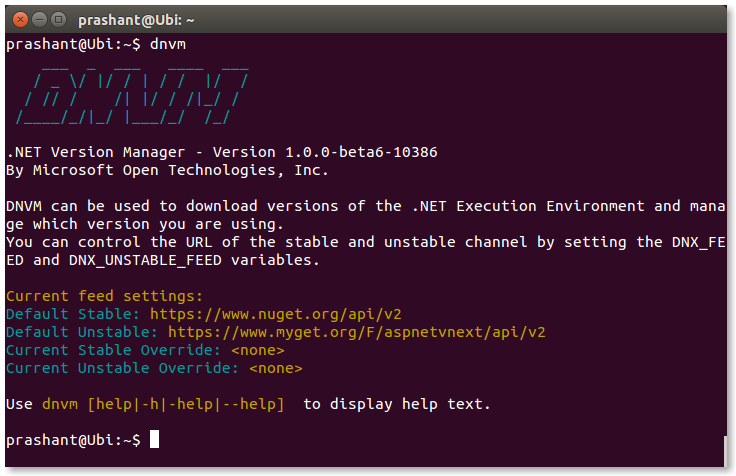
To check if the DNVM is successfully installed on your machine, type DNVM in the terminal. The output should be something like this:
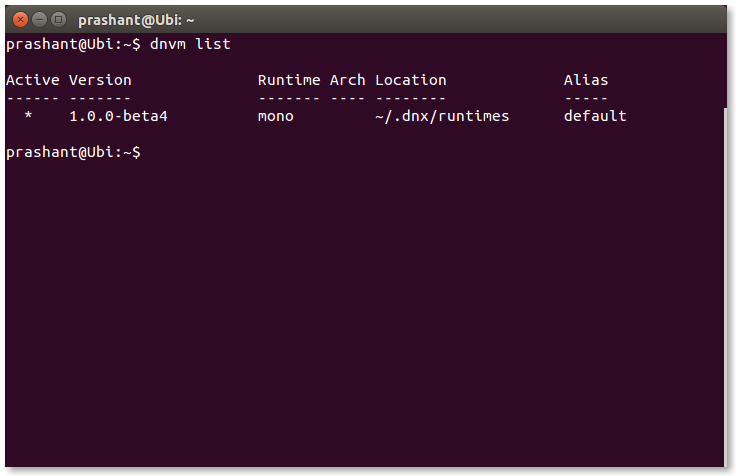
At any point of time if you want to list out the installed DNX runtimes, run the below command
dnvm list
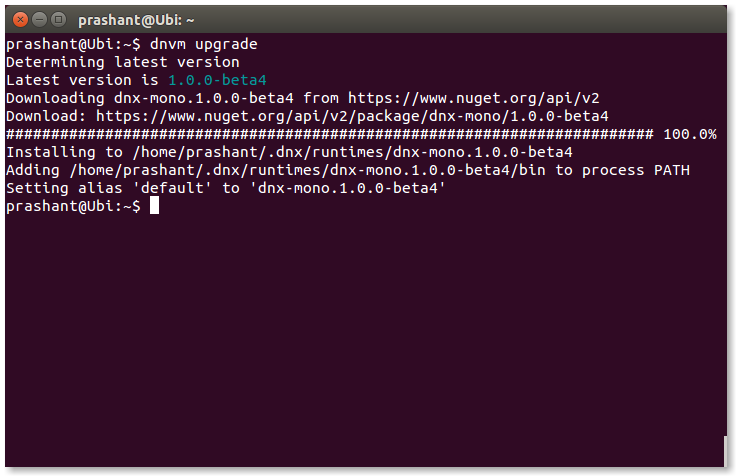
The next step after this, is to upgrade the DNVM so you can use the dnx and dnu commands. Run the following command in the terminal.
dnvm upgrade
Once this is done, we are all set to run ASP.NET VNext application on Ubuntu box. Clone the aspnet/Home repository from Github. If you don’t have Git installed then install it with this simple command.
sudo apt-get install git
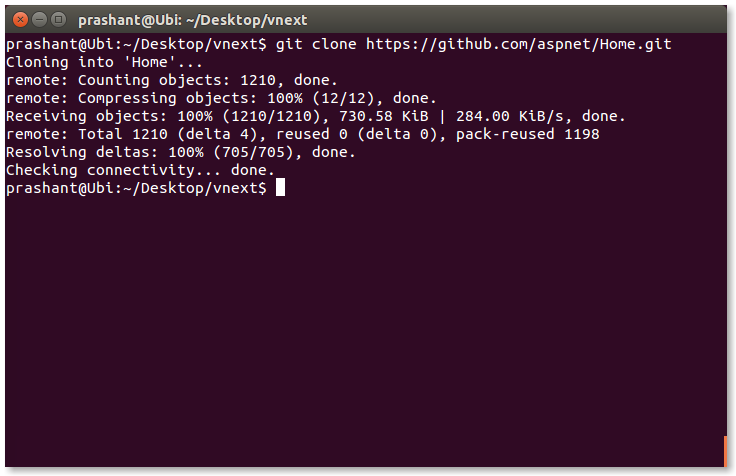
For simplicity, I have created a new directory on Ubuntu desktop named vnext. You can name the directory as you wish. Navigate to this directory in the terminal and clone the aspnet/Home repository.
git clone https://github.com/aspnet/Home.git
After cloning of repository is done, navigate to the 1.0.0-beta4 directory.
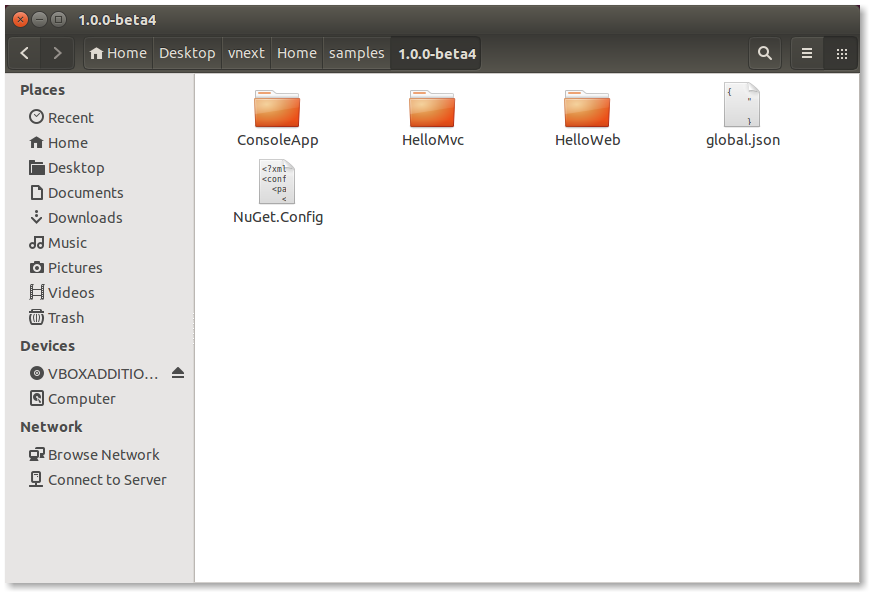
You can see three sample applications that you can test. For this tutorial I am going to checkout HelloMvc application. Get inside the HelloMvc directory and then, run the command
dnu restore
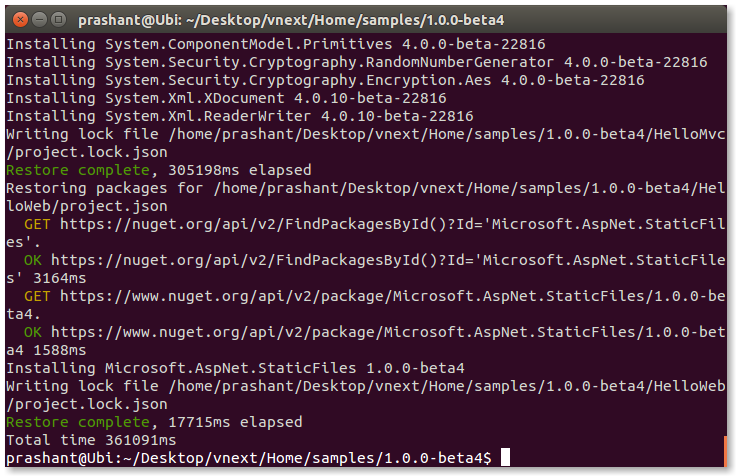
This will take some time to execute. I didn’t face this problem but there is a chance that someone will. When you run this command, the project.json.lock file gets created and the restore of the package will start. In the end when the restore is finalizing, it may say permission is denied. To resolve this error you can change the permission of the folder by running the following command.
sudo chmod -R 755 HelloMvc
You should always change permission to 755 for directories and 644 for files.
After the execution is completed, you can start the server by running the command.
dnx . kestrel
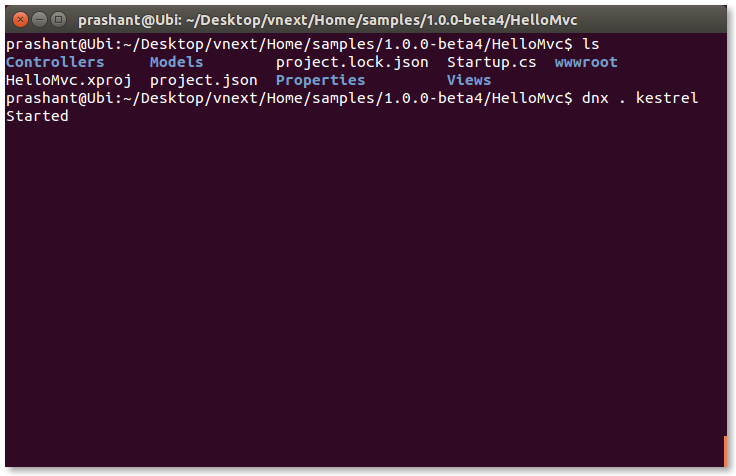
This command will work for both web and mvc application. If you plan to test out the console application then you can run the following command.
dnx . run
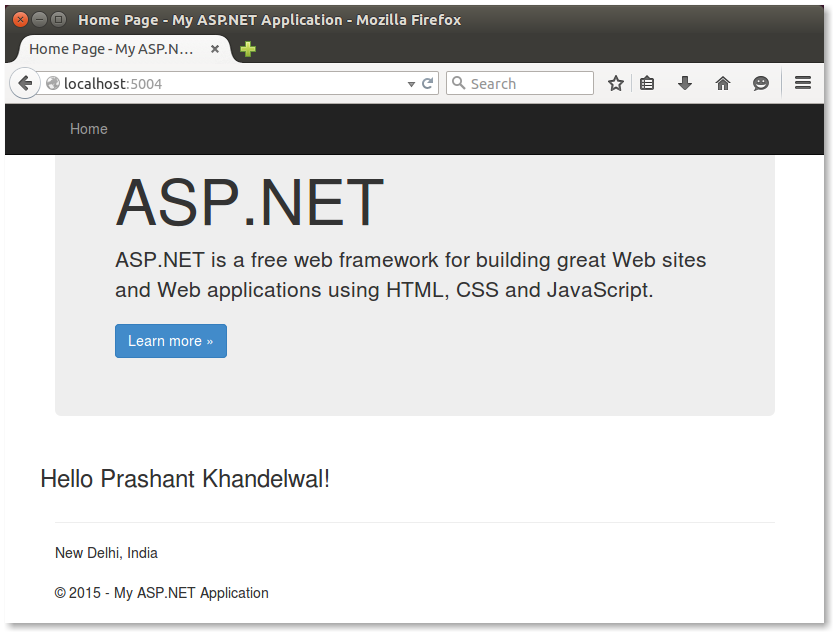
The server runs at port 5004. Fire up the browser and type in http://localhost:5004/
Hope this is helpful for the first time users of Linux.