

My Netduino card arrived this Sunday but I was not able to play with my new development board due to some serious “crap work” I was doing. Today I was able to run a small piece of code which blinks the user LED on the Netduino board. The code is simple enough and just like “hello world” example like we have for all other programming languages.
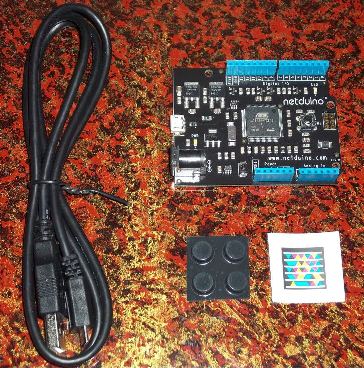
Here is my Netduino kit:
The best part of this development board is that it is the advanced version of the very famous Ardunio boards. Below is the detailed comparison of the three boards.
| Netduino | Arduino Uno | Arduino Mega 2560 | |
|---|---|---|---|
| CPU | Atmel ATSAM7X | Atmel ATmega328 | Atmel ATmega2560 |
| Architecture | 32-bit ARM7 | 8-bit AVR | 8-bit AVR |
| Clock | 48 Mhz | 16 Mhz | 16 Mhz |
| MIPS / Mhz | 0.9 | 1 | 1 |
| MIPS | 43.2 | 16 | 16 |
| Code | 128 KB | 32 KB | 256 KB |
| RAM | 60KB | 2 KB | 8 KB |
| Flash | 512 KB | 32 KB | 256 KB |
| SRAM | 128 KB | 2 KB | 8 KB |
| EEPROM | – | 1 KB | 4 KB |
| Pins | 14 Dig. I/O (4 PWM) | 14 Dig. I/O (6 PWM) | 54 Dig. I/O (14 PWM) |
| 6 analog-in or digital I/O | 6 analog-in | 16 analog-in | |
| UARTs | 2 | 1 | 4 |
| output limits | 8 mA / pin & 16 mA / PWM | 40 mA per Pin | 40 mA per Pin |
As you can see from the above comparison, the Netduino board is 3x faster than the Arduino and on the top it has 30x the RAM and check the processor 32-bit ARM7 awesome!!
Getting Started
To get started, you first need to set up your machine with some SDKs from Microsoft and Netduino. Below is the list of the SDKs you need to install on your development machine:
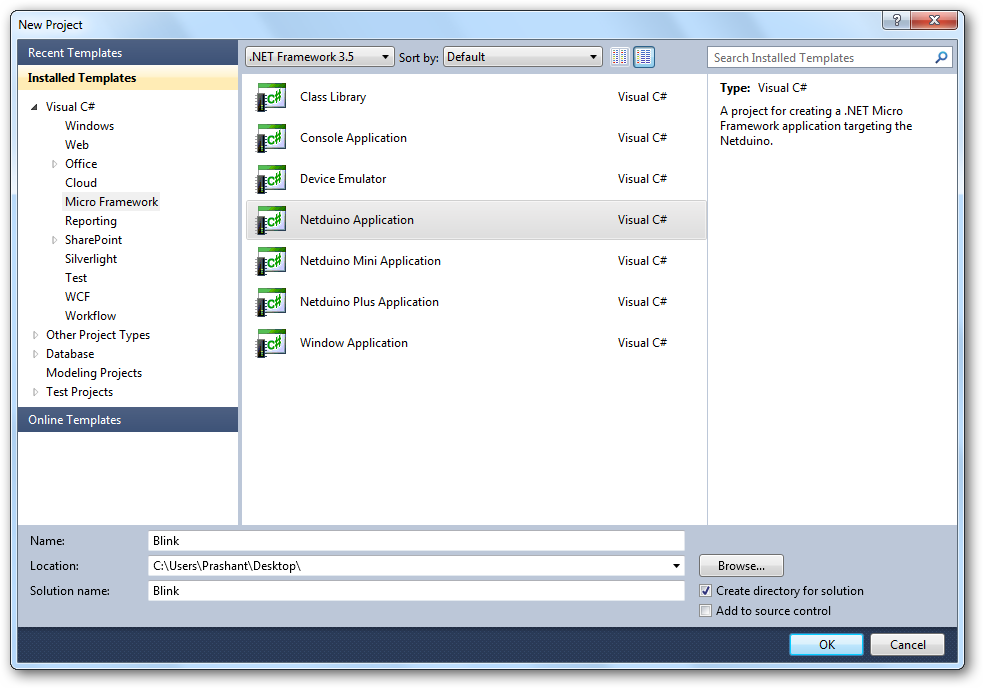
This is it and you are good to go with your first Netduino application. Fire Visual Studio and create new project under Micro Framework and select Netduino Application.
I have named the project Blink because we are going to blink the LED on board. As you can see there are two LEDs on the board. The one near the micro-USB indicates power (white) and the one near the onboard button is user LED (blue).
We are going to blink the user LED and for this I am going to use the code from the getting started guide form Netduino (nothing fancy here from my side) I am just re-using the code. below is the code you have to put inside you main method:
OutputPort led = new OutputPort(Pins.ONBOARD_LED, false);
while (true)
{
        led.Write(true); // turn on the LED
        Thread.Sleep(250); // sleep for 250ms
        led.Write(false); // turn off the LED
        Thread.Sleep(250); // sleep for 250ms
}
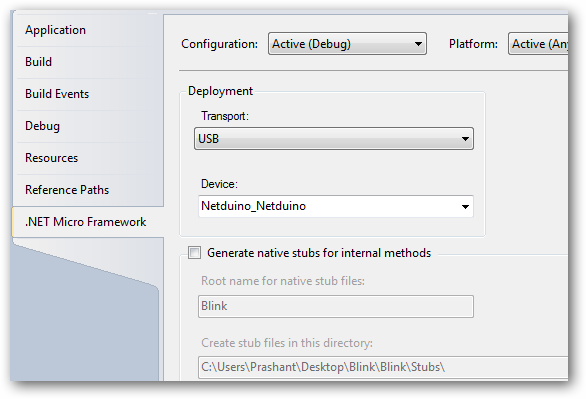
Now before you hit F5 go to project properties and under .NET Micro Framework change the Transport mode from Emulator to USB. As soon as you change the Transport mode you will notice the Device has been changed from Microsoft Emulator to Netduino_Netduino. Now press F5 and the application will get deployed to your Netduino board.
This is just a simple thing to do with a small but powerful development board. There are people around the globe building some amazing things with Netdunio and Arduino shields. In my next post I will show you how to erase Netduino memory for other application to deploy.
Below are some of the resources that I think you may find useful: