

Previously in a lot of hurry I wrote a post on how to upload files in MVC3 with the help of Uploadify, a famous jQuery plugin to upload files. If you have not heard about it yet, then it is time for you to check and find out what this plugin can do for you. Appending my last post about this plugin (which was not very well written) I tried one more thing with it today. This time I am trying to upload an image and then show it inside a DIV without a post back. If you have the source code from the previous post, then it will be good as you need not to start from the scratch.
I assume that you are a good designer as I am not. I am saying this because I really got a blank head in designing. Therefore it is up to you how you are going to show off the images on the page, I am just telling you a way to do that. I am using MVC3 for this example but it will work for both web forms and MVC. The only difference in MVC and web forms is in the server side code which is responsible to upload the file. If you are using MVC3 then your method to upload the file in the controller will be something like this:
public string Upload(HttpPostedFileBase fileData)
{
        var fileName = this.Server.MapPath("~/uploads/" + System.IO.Path.GetFileName(fileData.FileName));
        fileData.SaveAs(fileName);
        return "OK";
}
As we are using Uploadify, we now have to make changes in some of the parameters of the plugin. The Upload method is inside home controller, so the script parameter of the plugin will be /Home/Upload. For my convenience I have changed the multi and auto parameter to false and true respectively. By now this is the jQuery code I have:
In the end I append one more parameter onComplete which gets fired when the plugin finish uploading the file. To get the uploaded path of the image I am using fileObj.filePath and response to check if the file has been uploaded successfully or not. If the response I received after the uploading of the file is completed is ok then I will set the html to show the image in another DIV. Below is the complete configuration of the plugin.
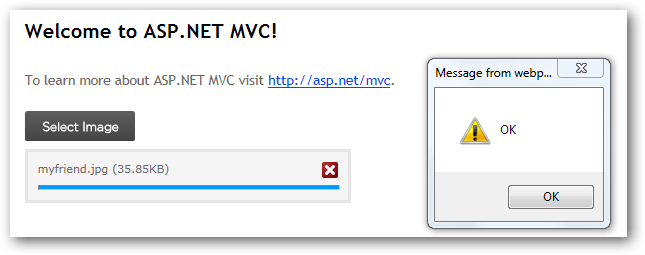
Just to demonstrate I have placed an alert message box with the response which got fired on the onComplete event after the image has been uploaded successfully. After this I have created a html string which is actually a html img tag with src and alt tags. I have then set the same html string to another DIV which acts as a holder of the image being uploaded. Here is an output after the image is uploaded. Just to remind you, it is all done without post back.

This is it, try it yourself and I recommend you to check out the documentation of the plugin I used. Check out the other links below and one more thing that I would like you to do is to set the multi property of the plugin to true and the try uploading multiple images. If you end up making something awesome then do share with me/us.
Related Links: