

Setting up the new Angular 2 app with Web API and .NET core is easy but can be a bit tricky. The older beta releases of Angular 2 works fine as there are not many files to refer and to work with. When I started using Angular 2 it was in RC1 and the way the files are being referenced in the app is bit different than the older versions of Angular 2. I don’t want to repeat these steps again and again so I put up a Github repo for this seed project. You clone it and hit F5 and you will have your Angular 2 app with Web API.
At the time of writing this post I am using .NET Core version 1.0.0-preview1-002702. The complete seed project is available on GitHub.
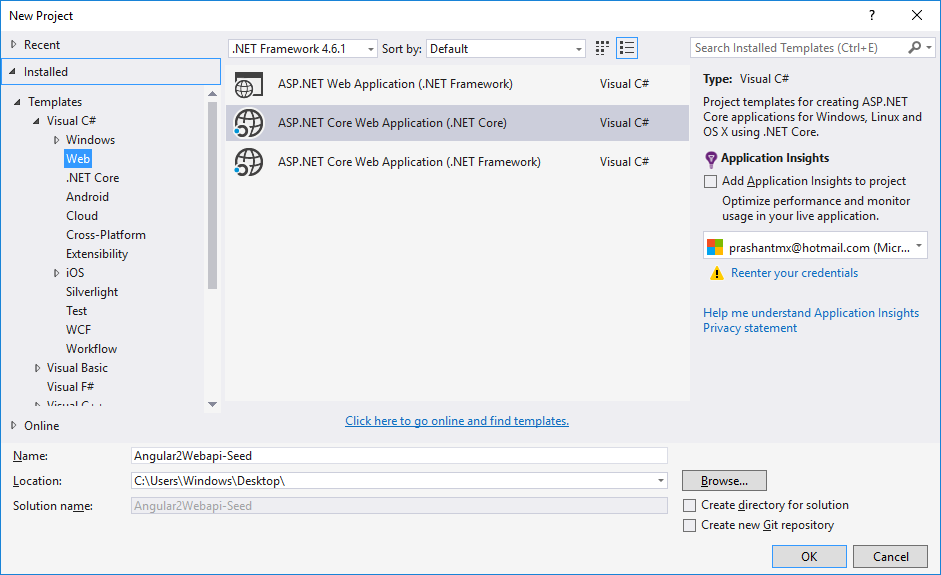
Here is how I did it. Select ASP.NET Core Web Application (.NET Core). I have installed the new .NET Core RC2. Name the project as you like.
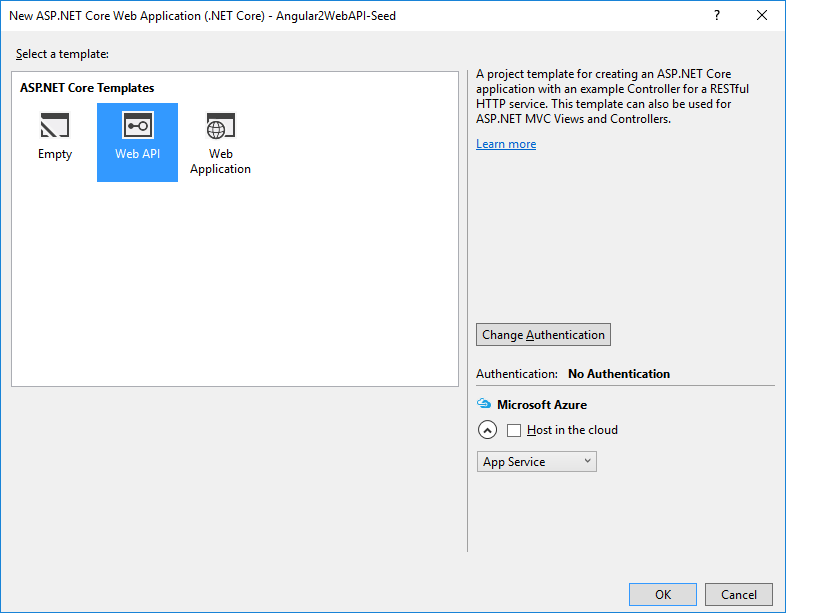
Select the Web API project template.
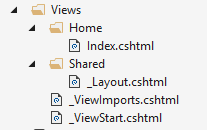
After the project creation is successfull. The first thing is to create a Views folder. The folder structure is like the same like it is for MVC application. This is how the folder structure looks like.
Because its a a Web API project, by default it will not render the views and therefore we have to add some dependencies in project.json file.
"Microsoft.AspNetCore.StaticFiles": "1.0.0-rc2-final",
"Microsoft.AspNetCore.Mvc.TagHelpers": "1.0.0-rc2-final",
"Microsoft.AspNetCore.Mvc.WebApiCompatShim": "1.0.0-rc2-final"
The project.json file is different than that of the older version of the .NET Core. You will see the difference when you see it.
Next we set the routes for the views we have in the Startup.cs file.
app.UseMvc(routes =>
{
    routes.MapRoute("default",
                    "{controller=Home}/{action=Index}/{id?}");

    routes.MapWebApiRoute("defaultApi",
                          "api/{controller}/{id?}");
});
The routes are now set and you can run the application and check if you can see the view or not. Once that is set, let start adding the support for Angular. Here is the list of the files which we need to add.
tsconfig.json file
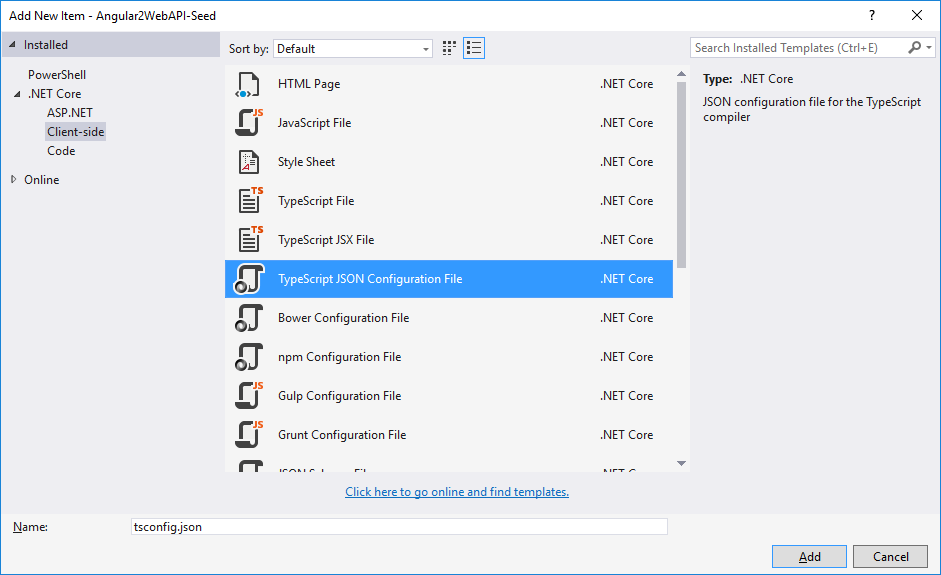
Add the below code to the file and save it.
{
  "compilerOptions": {
    "target": "es5",
    "module": "system",
    "moduleResolution": "node",
    "sourceMap": true,
    "emitDecoratorMetadata": true,
    "experimentalDecorators": true,
    "removeComments": false,
    "noImplicitAny": false,
    "rootDir": "wwwroot",
    "outDir": "wwwroot",
    "listFiles": true,
    "noLib": false,
    "diagnostics": true
  },
  "exclude": [
    "node_modules"
  ]
}
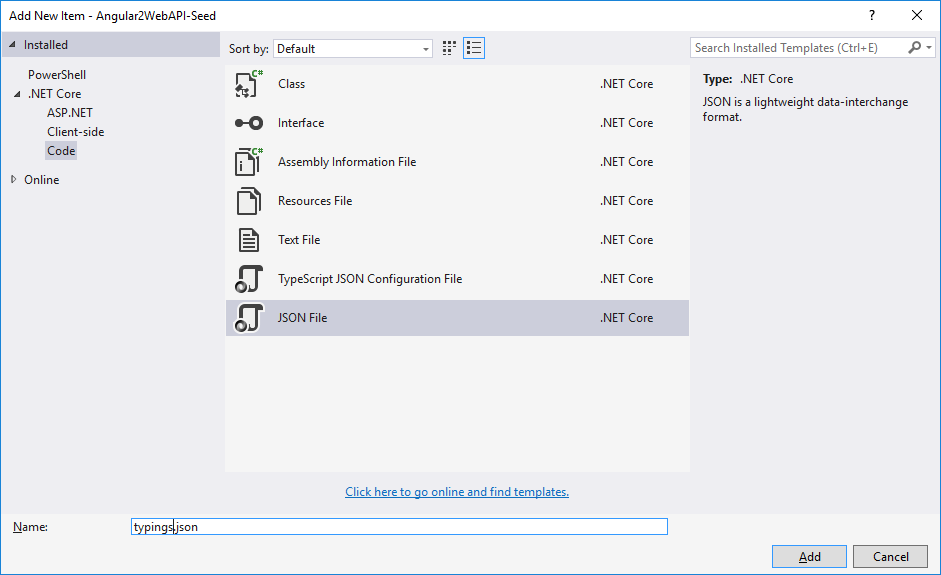
typings.json file
Add a blank .json file and name it typings.json
Add below lines to the typings.json file.
{
  "ambientDependencies": {
    "es6-shim": "registry:dt/es6-shim#0.31.2+20160317120654",
    "jasmine": "registry:dt/jasmine#2.2.0+20160412134438"
  }
}
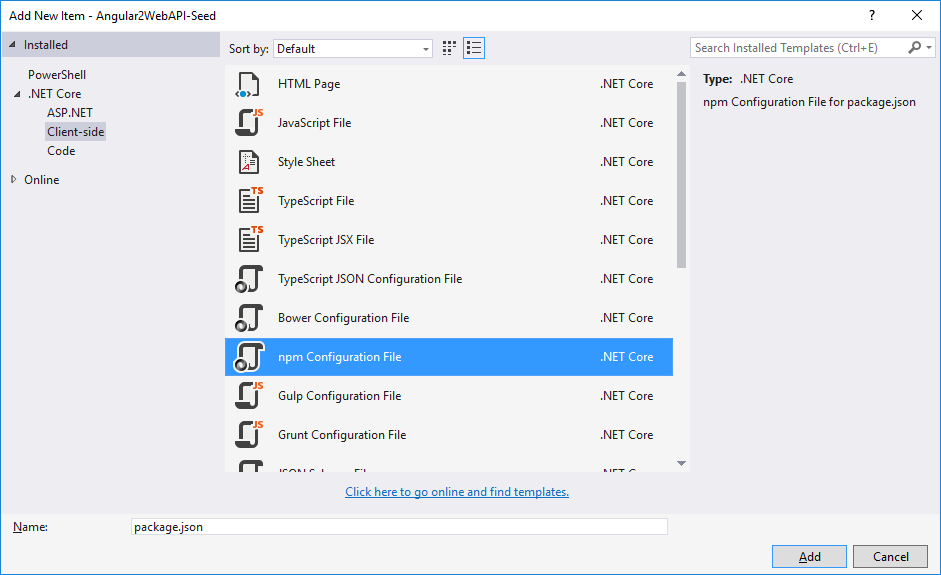
As per the official Angular documentation, we will stick with NPM to fulfill the client-side dependencies. Start with adding new npm Configuration File. The content of the NPM file is almost the same, but I made few changes as per my requirement. Here is the complete configuration file.
{
  "name": "Angular2WebAPI-Seed",
  "version": "1.0.0",
  "scripts": {
    "postinstall": "typings install"
  },
  "license": "ISC",
  "dependencies": {
    "@angular/common": "2.0.0-rc.1",
    "@angular/compiler": "2.0.0-rc.1",
    "@angular/core": "2.0.0-rc.1",
    "@angular/http": "2.0.0-rc.1",
    "@angular/platform-browser": "2.0.0-rc.1",
    "@angular/platform-browser-dynamic": "2.0.0-rc.1",
    "@angular/router": "2.0.0-rc.1",
    "@angular/router-deprecated": "2.0.0-rc.1",
    "@angular/upgrade": "2.0.0-rc.1",

    "lodash": "4.12.0",
    "systemjs": "0.19.27",
    "es6-shim": "^0.35.0",
    "reflect-metadata": "^0.1.3",
    "rxjs": "5.0.0-beta.6",
    "zone.js": "^0.6.12",
    "angular2-in-memory-web-api": "0.0.7",
    "bootstrap": "^3.3.6"
  },
  "devDependencies": {
    "gulp": "3.9.1",
    "concurrently": "^2.0.0",
    "typescript": "^1.8.10",
    "typings": "^0.8.1"
  }
}
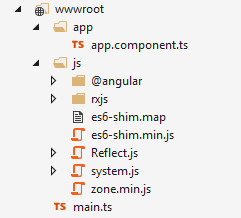
Notice the postinstall section in the npm configuration file. In this section we are installing the types required by our Angular 2 application. Now we can start setting up the Angular stuff in the wwwroot folder. Create an app and js folder inside this folder. Inside app folder create a new .ts file (TypeScript file). Here is the folder structure looks like in the wwwroot folder.
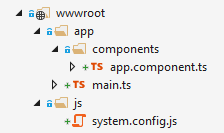
You can see a system.config.js file is the same as you can see the Angular quickstart guide. I just have map the paths for the dependencies so that can be loaded without any problem. The main.ts file will be the main bootstrapper and app.component.ts file is the component file which will render the content on the page. At this point running the application will fail and it will give you several warnings and errors. To resolve that we need to add the references and we can do this easily by using a gulp file. The gulp file will automate the copying of dependencies in the wwwroot folder and ease our task.
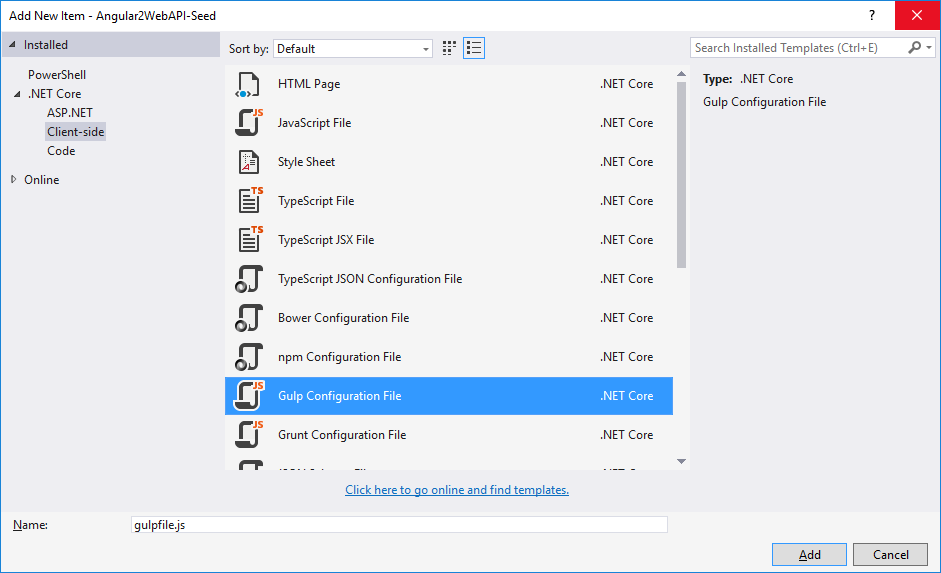
The content of the gulp file in this case looks like this.
///var _ = require('lodash'); var gulp = require('gulp'); var js = [ 'node_modules/zone.js/dist/zone.min.js', 'node_modules/systemjs/dist/system.js', 'node_modules/reflect-metadata/Reflect.js', 'node_modules/es6-shim/es6-shim.min.js' ]; var map = [ 'node_modules/es6-shim/es6-shim.map', 'node_modules/reflect-metadata/reflect.js.map', 'node_modules/systemjs/dist/system.js.map' ]; var folders = [ 'node_modules/@angular/**/*.*', 'node_modules/rxjs/**/*.*' ]; gulp.task('copy-js', function () { _.forEach(js, function (file, _) { gulp.src(file) .pipe(gulp.dest('./wwwroot/js')) }); }); gulp.task('copy-map', function () { _.forEach(map, function (file, _) { gulp.src(file) .pipe(gulp.dest('./wwwroot/js')) }); }); gulp.task('copy-folders', function () { _.forEach(folders, function (folder) { gulp.src(folder, { base: 'node_modules' }) .pipe(gulp.dest('./wwwroot/js')) }); }) gulp.task('default', ['copy-js', 'copy-map', 'copy-folders']);
Notice the very first line in the file above. We want to execute the task on every time before the build is triggered. The gulp file will only be copying the required files to the js folder and other unnecessary files will not be required. After the task is executed here is the how the final directiry structure will look like under wwwroot.
Depending on the selector you have in your component, you need to add the selector to your view. In my case the selector is app, hence add <app></app> in your Index.cshtml file.
After you set up the index page, there is one more thing that you have to do is to set the launch URL.
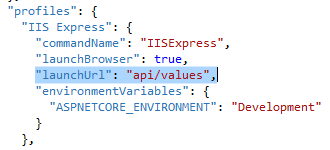
The URL may change and differ as per your API endpoint. Press F5 to run the application.