Mostly all web applications out there has some way or the other amazing ways to upload a single or multiple files. While surfing on Github I found this amazing library to upload the files to the server in a unique way with lot of configurations. It support parallel uploads along with cancellation of the files which are in the upload queue along with a good looking progress bar to show the progress of upload.
I get the drag and drop to work in just like 5 minutes. It is super easy and that with some powerful configurations. To install Dropzone you can use the Nuget command.
PM> Install-Package dropzone
Add reference of js and css files on your page. To get the UI ready use this HTML.
<div class="row">
    <div class="col-md-9">
        <div id="dropzone">
            <form action="/Home/Upload" class="dropzone needsclick dz-clickable" id="uploader">
                <div class="dz-message needsclick">
                    Drop files here or click to upload.<br>
                </div>
            </form>
        </div>
    </div>
</div>
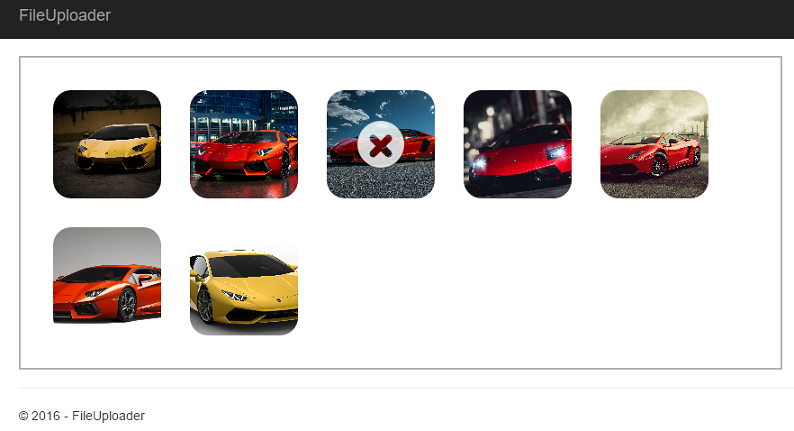
The output of the above HTML looks like this.

There are few points to be noted here in the above HTML. Notice the action and class attributes for the form element. You will also be needing the id attribute as well. Here the action attribute points to the ActionResult which is responsible to handle the file upload. I have pointed it to the Upload ActionResult in my controller class which accepts a parameter of type IFormFile. In case of a MVC application, we would have used HttpPostedFileBase class. Here is the complete code which handles the file upload.
[HttpPost]
public async Task<IActionResult> Upload(IFormFile file)
{
    var uploads = Path.Combine(_environment.WebRootPath, "uploads");
    if (file.Length > 0)
    {
        using (var fileStream = new FileStream(Path.Combine(uploads, file.FileName), FileMode.Create))
        {
            await file.CopyToAsync(fileStream);
        }
    }
    return RedirectToAction("Index");
}
The _environment variable you see in the above code is the instance of IHostingEnvironment interface which I have injected in the controller. Always use IHostingEnvironment interface to resolve the paths. You can hard code the file path but it may not work on other platforms. The combine method returns the correct path based on the platform the code is executing. The WebRootPath property returns the path of wwwroot folder and the second parameter uploads is then appended correctly with the path.
Now it is time to make some adjustment in the Dropzone configuration. Recall the id attribute of the form element. I named it uploader. The Dropzone library has a unique way to set the configuration. Like this.
<script>
    $(document).ready(function () {
        Dropzone.options.uploader = {
            paramName: "file",
            maxFilesize: 2,
            accept: function (file, done) {
                if (file.name == "test.jpg") {
                    alert("Can't upload a test file.");
                }
                else {
                    //Show a confirm alert and display the image on the page.
              }
           }
        };
});
</script>
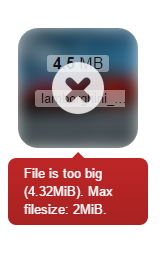
You have to be a bit careful when setting this configuration. In the configuration above the paramName states the name that will be used to transfer the file. This name should be the same as the IFormFile parameter of the Upload method in the controller. In this case I am using file and the same has to be there in the param of the Upload method. If the names mis-match the files will not be uploaded. The other parameter I am using is the maxFileSize and is very much self-explanatory. I have set the size to be 2 MB and because of this configuration, any file above this limit will not be uploaded. Here is an example of such kind of failure.

All the other files were uploaded successfully except one file which is 4.32 MB and is way beyond the limit I set in my Dropzone configuration. If you hover the file, you will see why it got failed.

This is the simplest approach through which you can have drag and drop upload support in your applications. The configuration I am using here is the simplest and minimalistic configuration that can get you started in no time. There are some more powerful configurations like parallelUploads and uploadMultiple that you should look into and use it.

