
© 2026 Pashant Khandelwal

© 2026 Pashant Khandelwal
For more details and detailed explaination of the code visit this link.
static List removeDuplicates(List inputList)
{
      Dictionary uniqueStore = new Dictionary();
      List finalList = new List();
      foreach (string currValue in inputList)
      {
          if (!uniqueStore.ContainsKey(currValue))
          {
              uniqueStore.Add(currValue, 0);
              finalList.Add(currValue);
          }
      }
      return finalList;
}
If your are using Windows Azure for storing files here are the tools you should love to use to manage your Azure cloud storage.
And
If you don’t have an Azure account, then have one HERE
As a programmer, you put a lot of effort to create an application and incorporate some unique features in your application, which in turn makes your application more feature rich and different from other applications. The question here is, how do you feel when you come to know that someone has played with your code and then make a same application with his name…You did all the hard work and some random guy on this blue planet stole your code and takes all the credit.
Well the answer lies in Obfuscation. It is a method to prevent your application from being reverse engineered. It makes the code of your application in unreadable form when it is viewed in any reflection tool. You will find many obfuscator tool, but some of them are not free and others are not ease at use. I do some search over the net and found a totally free and reliable tool for obfuscating my applications and libraries. This free obfuscating tool can be downloaded from here. The version here supports obfuscations for .NET framework 3.5 and for .NET framework 4.0, well we have to wait for the final release as it is still in beta but can be downloaded from here.
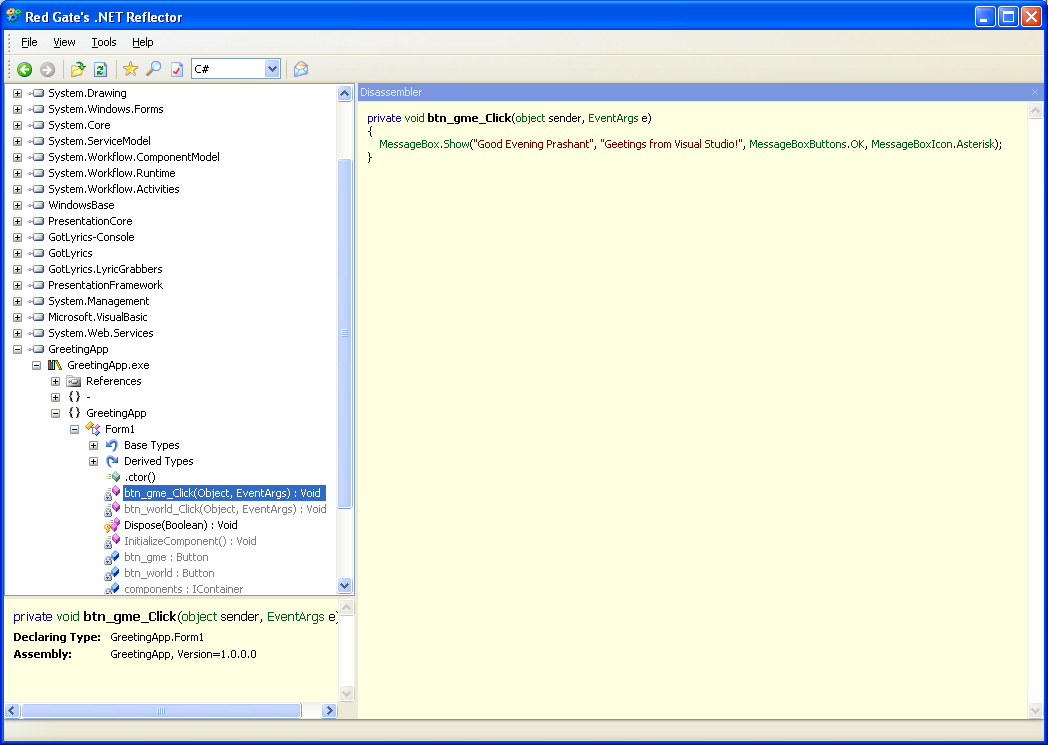
Let’s see Red Gate’s Reflector and Eazfuscator.NET (actual name of the obfuscater tool) in action
First I created a basic simple greeting application in Visual Studio 2008 (.NET Framework 3.5). The application has two buttons which greets the user and world respectively. Now take a look how the binary is diassembled by using reflector.
And now we will use Eazfuscator.NET to obfuscate our application. So first download and install the obfuscator tool form the above link and then simple drag-n-drop application on the right segment. I remommend to read the whole documentation before you start obfuscating your application and assemblies and make sure you have a bacup of your original application before you proceed.
Drag and drop your application here.
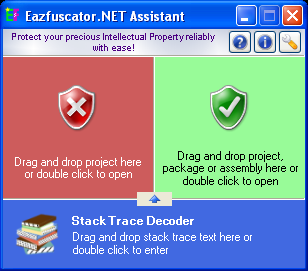
As soon as you drop your binary here the obfuscation process will start automatically.
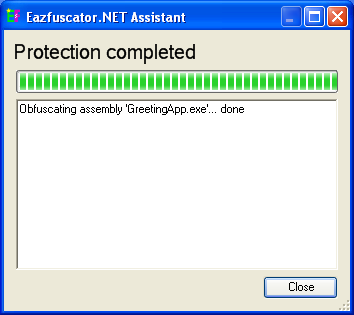
And thats it, your code is now safe and you can distribute you applicaion without any more worries.
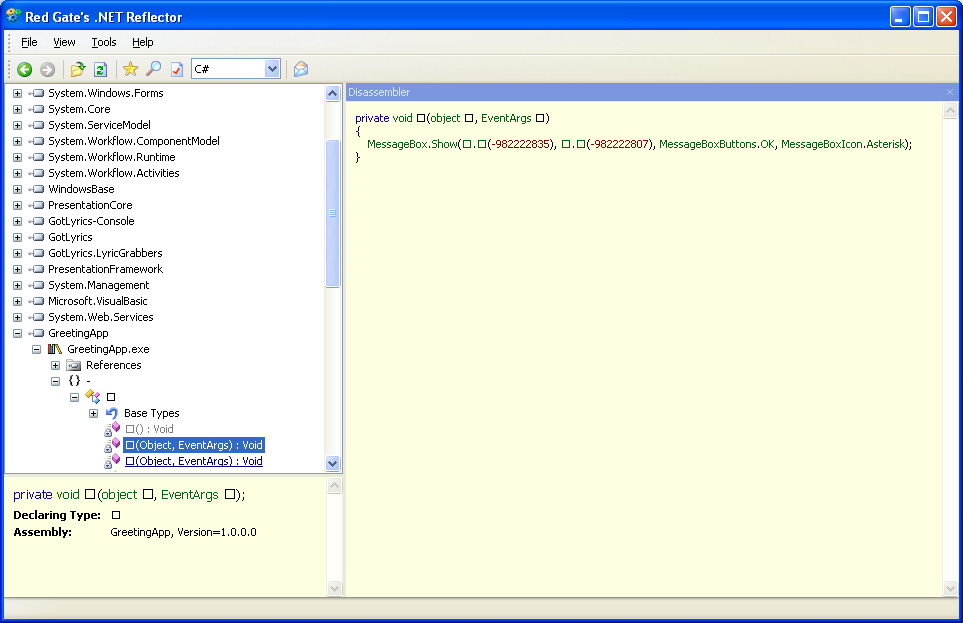
Now try opening your obfuscated application in reflector….and this is what you will see.
Working with hash tables is pretty simple but few days back I was having a problem in retrieving a key from a value in hash table. I was bit lazy to find a way myself, so I searched the net and here is what I got….a simple piece of code which lead to me to complete my task and so I thought I should share it with everyone here.
public string FindKey(string Value, Hashtable HT)
{
       string Key = “”;
       IDictionaryEnumerator e = HT.GetEnumerator();
       while (e.MoveNext())
       {
            if (e.Value.ToString().Equals(Value))
            {
               Key = e.Key.ToString();
            }
       }
       return Key;
}
This SQL stored procedure will allow you to write to the file on your file system. Note the file system will be the the same on which the SQL server is running. If you are using this with your local SQL server then it will write and create files on your local file system and if you are on the remote machine, the file system will be the remote file system.
Create Procedure  [dbo].[USP_SaveFile](@text as NVarchar(Max),@Filename Varchar(200))
AS
Begin

declare @Object int,
        @rc int, -- the return code from sp_OA procedures
        @FileID Int

EXEC @rc = sp_OACreate 'Scripting.FileSystemObject', @Object OUT
EXEC @rc = sp_OAMethod  @Object , 'OpenTextFile' , @FileID OUT , @Filename , 2 , 1
Set  @text = Replace(Replace(Replace(@text,'&','&'),'<' ,'<'),'>','>')
EXEC @rc = sp_OAMethod  @FileID , 'WriteLine' , Null , @text
Exec @rc = master.dbo.sp_OADestroy @FileID

Declare @Append  bit
Select  @Append = 0

If @rc <> 0
Begin
    Exec @rc = master.dbo.sp_OAMethod @Object, 'SaveFile',null,@text ,@Filename,@Append

End

Exec @rc = master.dbo.sp_OADestroy @Object

End
But before you start using this procedure you need to reconfigure some advanced SQL server settings. Use the below configuration query to enable ‘OLE Automation Procedures’. If this is not enabled and you try executing the procedure you will get errors.
Use master
GO
-- To allow advanced options to be changed.
EXEC sp_configure 'show advanced options', 1
GO
--To enable Ole automation feature
EXEC sp_configure 'Ole Automation Procedures', 1;
GO
RECONFIGURE;
GO
The first parameter will take the text to be written to the file and the second parameter will take the complete path of the file to be created with the text in it. You can also use the same procedure to wite binary files to the file system, you just need to check and change the file extension in the second parameter. Usage:
EXEC USP_SaveFile 'Microsoft SQL Server 2008', 'C:\MSSQL.txt'