Docker Hub or GitHub Container Registry also known as ghcr.io is a go to platform for most of the OSS developers and teams to host their Docker images. These platforms are free for open-source software, but you might need to upgrade from the free plan to use a paid plan so that your docker image is only available for your infrastructure use and not for public use.
Azure provides Container Registry service where you can host your Docker images with ease and use the same docker pull and run command to pull and run the container on your machine, or you can also use these images to create containers when provisioning a new Web App which uses containers or with Azure Kubernetes Service (AKS).
Let’s dive into how to create a simple Docker image and push it to Azure Container Registry (ACR). But before we get started, we need few things:
- Azure subscription
- Docker
- Visual Studio Code or your favorite IDE
Creating Azure Container Registry in Azure
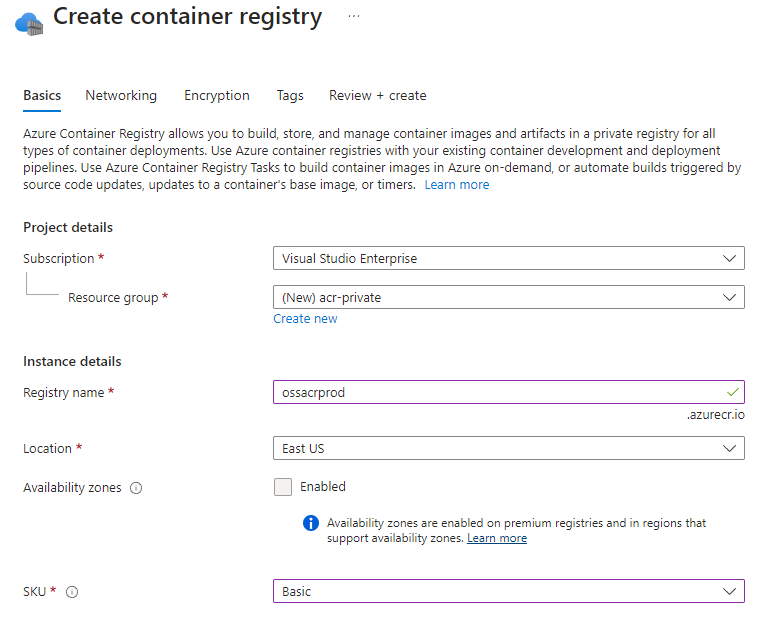
Go to Azure portal and click on Create a resource and type container registry. Follow the steps and you’re done.
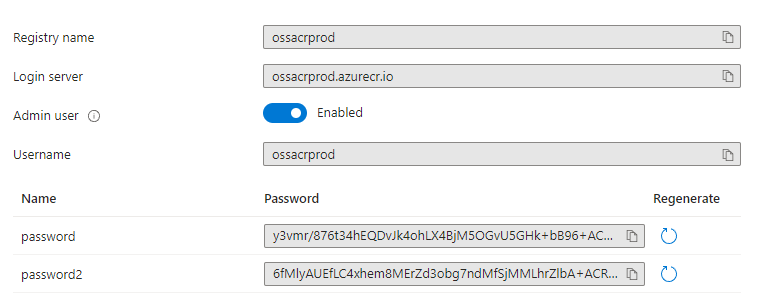
After the resource is created, we have to do change a few configurations to get it to work. Go to Access keys and enable the Admin user. You can now see the Username and 2 passwords which you can use to login to ACR via docker login command.
Creating your Docker Image
I have a small API application which I wrote in Go. It lets you fetch the lyrics of your favorite song. Here is the app in action.
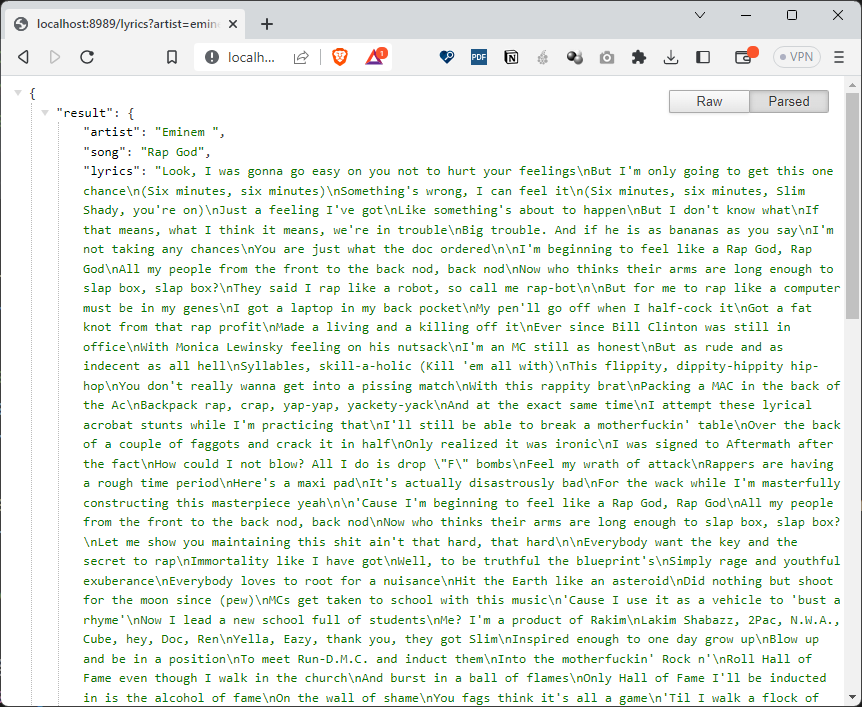
To see it in action on your local machine, clone the repo from GitHub and copy-paste this URL in your browser. http://localhost:8989/lyrics?artist=eminem&song=rap%20god
To create a Docker image, we first have to create a file called Dockerfile and then add the below docker commands.
# syntax=docker/dockerfile:1

FROM golang:1.20

# Set destination for COPY
WORKDIR /app

# Download Go modules
COPY go.mod go.sum ./

RUN go mod download

COPY . ./

# Build
RUN go build -o /goazl

EXPOSE 8989

# Run
CMD ["/goazl"]
Save this file and execute the command below in your terminal:
$ docker build –t goazl-default .
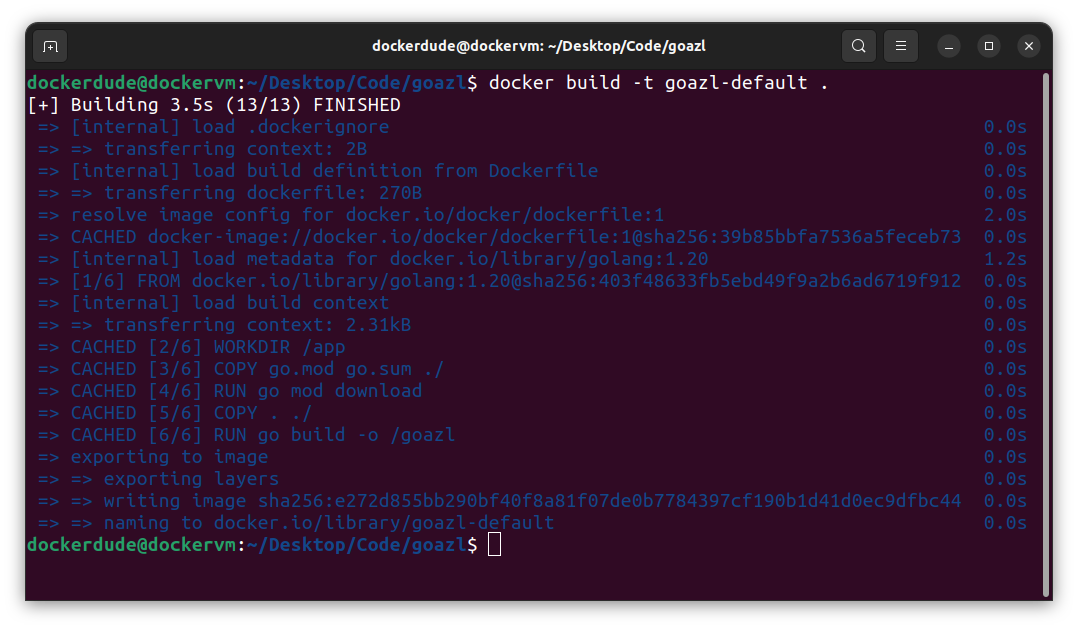
The above command will take some time to execute and once it is completed successfully, you can execute another docker command to view the image it has created.
$ docker images
You should always create a multi-stage docker image for your applications as it comes with some important benefits. You can read more about those benefits here.
Here is the multi-stage Docker file which you should use:
# syntax=docker/dockerfile:1

FROM golang:1.20 AS build-stage

# Set destination for COPY
WORKDIR /app

# Download Go modules
COPY go.mod go.sum ./
RUN go mod download

COPY . ./

# Build
RUN go build -o /goazl

FROM gcr.io/distroless/base-debian11 AS release-stage

WORKDIR /app

COPY --from=build-stage /goazl /goazl

EXPOSE 8989

# Run
ENTRYPOINT ["/goazl"]
This time use this command to create another multi-stage docker image.
$ docker build -t goazl-multistage .
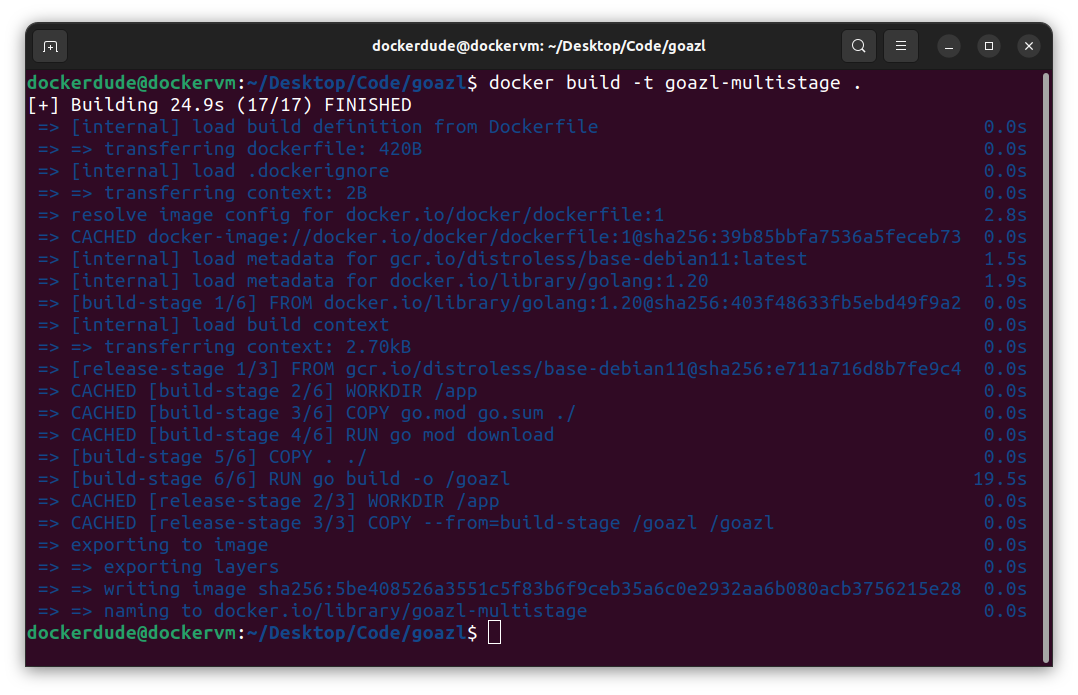
You can see the difference in size of these images.

You can see in the above screenshot that the image with default in the name cost me 1.11GB of disk space as it includes all the go tool chain. This also poses a security risk. On the other hand you can look at the size of the multistage docker image which is only 41.1MB.
Now we have the image ready to push to ACR. Let’s configure Docker command line to use our Azure Container Registry.
Pushing Docker Image to ACR
We will use the docker login command to login to the Container Registry.
$ docker login ossacrprod.azurecr.io
After this, the prompt will ask for username and password, which you can get from the Azure Portal. If all goes well then you should see something like this:

With login done, we can proceed to tag our image and push it to ACR. For that, first list all the images by executing docker images command.
Tag the image with the following command:
$ docker tag goazl-multistage ossacrprod.azurecr.io/goazl:1.0
I sometimes prefer using the registry name in front of my image name, but you can also use it without it like so:
$ docker tag goazl-multistage goazl:1.0
Notice that I am using the multi-stage image as it has less storage footprint than the default image. This also lets me save some cost in terms of storage in Azure and is also quicker to pull the image from the registry. Multi-stage images let you create secure images, and it is a recommended way to create docker images.
The final step is to push the image to ACR using the docker push command:
$ docker push ossacrprod.azurecr.io/goazl:1.0
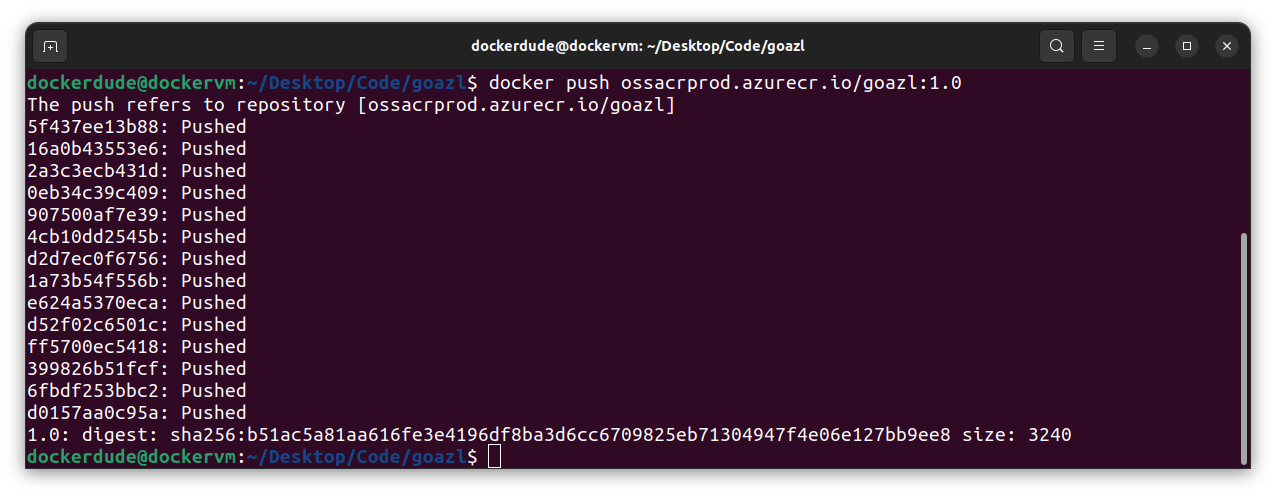
You can also check your docker image in Azure Container Registry using Azure portal:

You can also pull this image just like any other docker image you can pull from docker hub.
$ docker pull ossacrprod.azurecr.io/goazl:1.0
To make things more convenient, you can use Azure CLI to list images in your ACR. Install az cli and get started by login in using your Azure credentials. After installation is done, open terminal and issue the below command:
$ az login
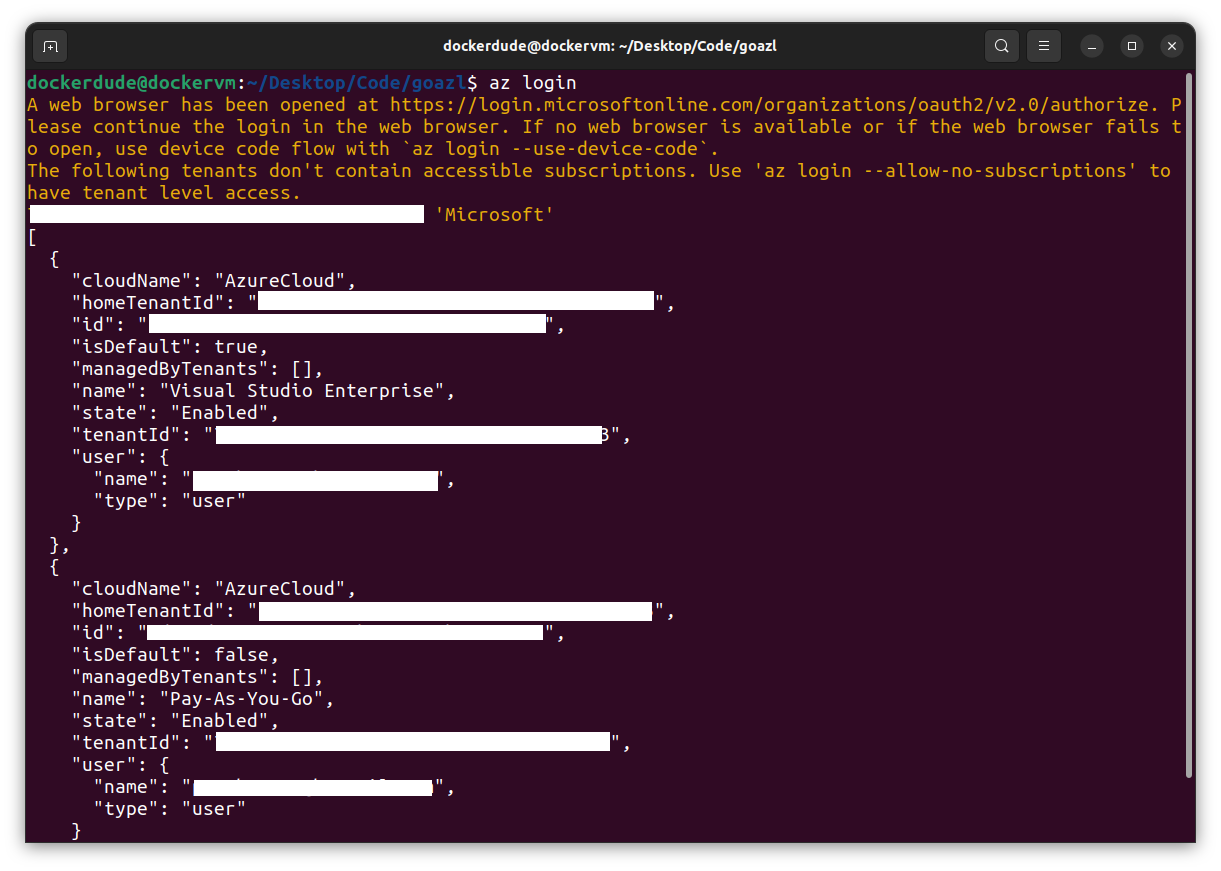
This command will open up your default web browser and ask for your Azure credentials. After you have successfully authenticated yourself, you can close the page. The terminal will display the list of the subscriptions you have. Depending under which subscription you have created your Azure Container Registry you should select that subscription. Here are some of the az commands which will help you select your subscription.
Note that these steps are only needed if you have multiple Azure subscriptions. If you have one subscription, then you can skip these steps.
To show which subscription is selected:
$ az account show
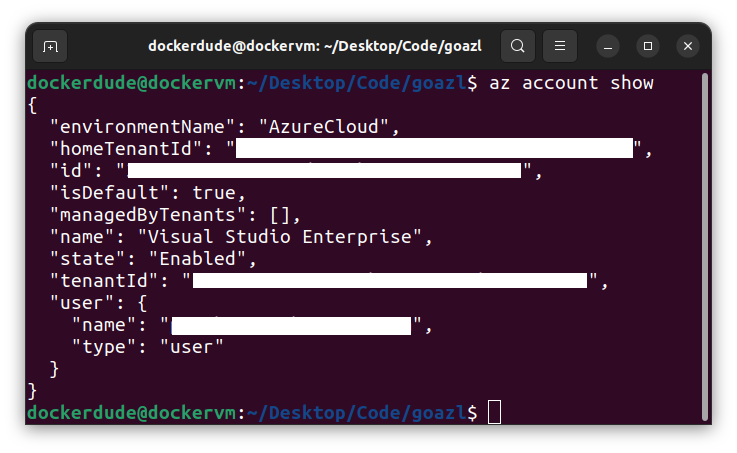
If you want to see all the subscription you have/own:
$ az account list
If you want to change the default subscription used by az cli to be different than that of the default one, then use the below command to explicitly use that subscription:
$ az account set --subscription < subscription id >
Change <subscription id> to your subscription id you want to use. This is the id field in the az account list command output.
After this you can verify the set subscription with the command:
$ az account show
Once az cli is setup properly, we can now use it to list images in ACR.
To list images in the container registry:
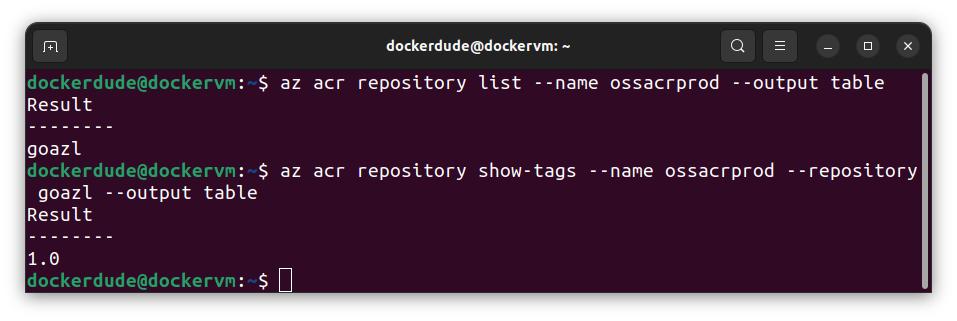
$ az acr repository list --name ossacrprod --output table
The above command will query the container registry and return the list of all repositories. That is what acr repository list is doing here. It might be possible that you have multiple ACR in your subscription, therefore, --name flag is used to specify the name of the registry. The --output flag with value table is used to output the results in table format.

To view the tags of the image in your container registry:
$ az acr repository show-tags --name ossacrprod --repository goazl --output table
This command is almost the same as the previous command with slight changes to it. The initial option is set to acr repository show-tags instead of list as we want to see the tags for a given image or repository. Then we set --repository flag with the name of the repository (goazl) for which we want to see all the tags.
All images in ACR are referred as repositories.
